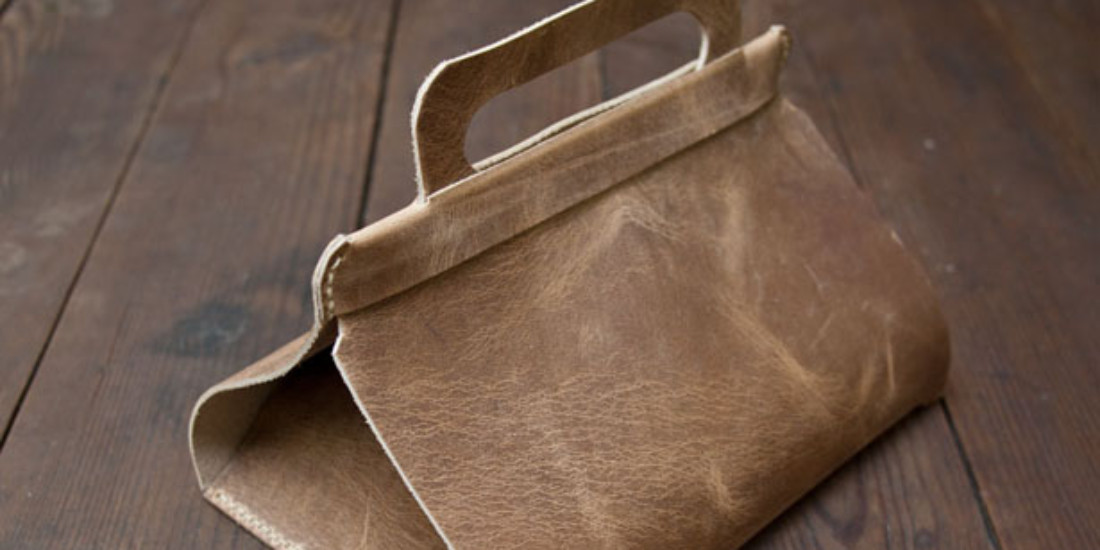
Make a Wood&Faulk leather lunch tote
Wielding that plastic lunchbox you’ve had since you were 15 is unfortunately not going to make you a lady killer. It may instead be time to replace that velcro-strapped bag with a real man’s lunch holdall.
Matt, the design-savvy mind behind the blog Wood&Faulk, teamed up with Design Sponge to share with fellow hands-on gentlemen a clever solution to the plastic lunchbox – a leather lunch tote. Making your own is simple, and gives you a chance to get crafty with some leather cuts – you will only need a few materials, and a little dedication.
Materials
- stiff leather
- heavy waxed thread
Tools
- leather hole punches (in numbers 5 and 00)
- leather sewing needles
- contact cement
- a rotary knife
- ruler
- stitching spacer
- the downloadable template, which is available here.
Instructions
1. Use the downloadable template to draw a pattern in the leather before cutting the pieces and trimming around any frayed edges. You will need a stiff leather so that the handles are stable enough to carry, otherwise you can double two pieces for more stiffness.
2. Mark holes for sewing along the edge of each interior flap. Do this by using a ruler to ensure a straight line. If you can, try to use a stitching spacer with a large void as you will need to long stitch between each hole.
3. Use the cement glue to glue each flap that will face inward to the main piece. Place only a small strip of this under where the stitching will go as it will help the pieces to stay aligned when punching holes and sewing.
4. Leave the glue to dry before punching the holes for sewing. Punch these holes in accordance with the marks that have been made through both pieces of glued leather. Make sure to pinch the handle-receiver end together and also the flap ends and punch some sewing holes through both layers there, too. While doing this, try to maintain the stitch spacing you’ve been using.
5. Finally, hand-sew the pieces together with a two-needle technique and the thick waxed thread. Using the two-needle method and backstitching on the ends will create a sturdy, long-lasting seam.
You can see the original tutorial here, where you can also download the design template.


